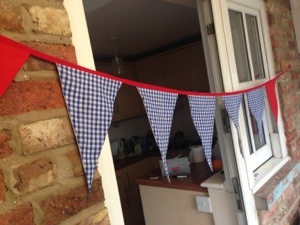
Never let it be said that the bunted! fairies rest on their laurels! We stretch ourselves, going above and beyond our crafting duties! In actual English, that means we tried some thing new! Yay us!
After going a little crazy in Hometown in Rochester during their Summer sale, and buying quite a lot of new fabric, I thought I’d branch out and tackle making a lampshade, a la our new favourite crafters, WeirdandGilly Lampshades.
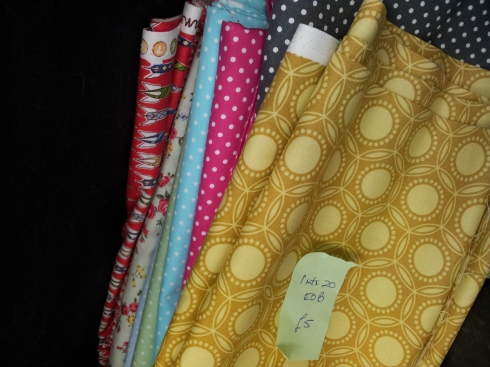
Case in point: do not leave me unattended in Hometown
I’m going through a bit of Mad Men induced Orla Kiely fan girl-ing, and so I picked this 60’s esque mustard floral fabric from Hometown
Far be it from me to go too crazy when trying new things, so of course I took the safety-first route of purchasing a lampshade kit. I only had a minor panic attack reading the instructions, and frankly I think that’s to be celebrated!
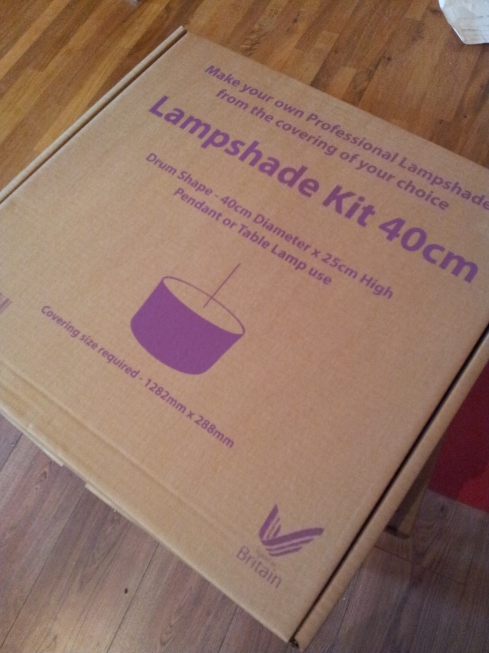
I bought a 40cm kit as I wanted to replace the lampshade hanging over my bed. There was nothing wrong with the shade at all, but it was plain white (although covered in Chinese lanterns) and I’ve started to get this obsession with decorating my entire house with things that I have made, ensuring maximum smugness when guests come over – I’m sure I’m not alone either!
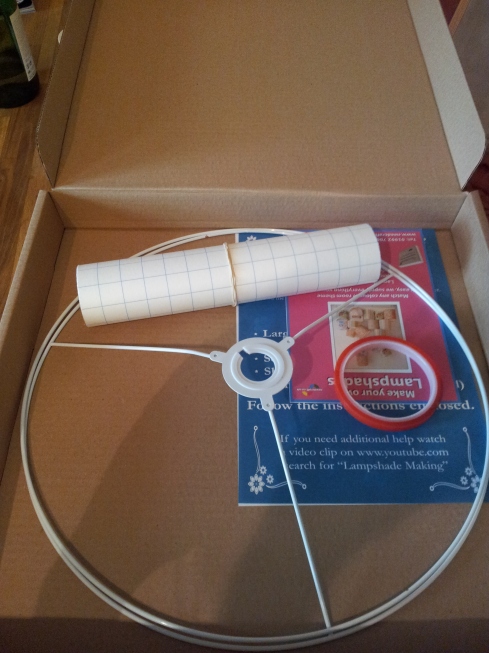
I was actually really shocked – this is literally all that comes in the kit! You buy your own fabric (no arguments there) and all you need are the lampshade hoops, some double sided tape and the adhesive backing, which doubles as the structure for the shade.
The kit tells you the width and length of the fabric you will need for your cover. I thought I would be sneaky and use the width of the fabric straight off the bolt, so that I didn’t need to cut it as much (I’m notoriously wobbly with a pair of scissors). Be warned, my lovely bunters, it only just fit, and I had to get a bit stern with the fabric to make sure it didn’t move a millimetre.
After cutting the fabric to size I lay it out face down, and ironed out any residual creases.
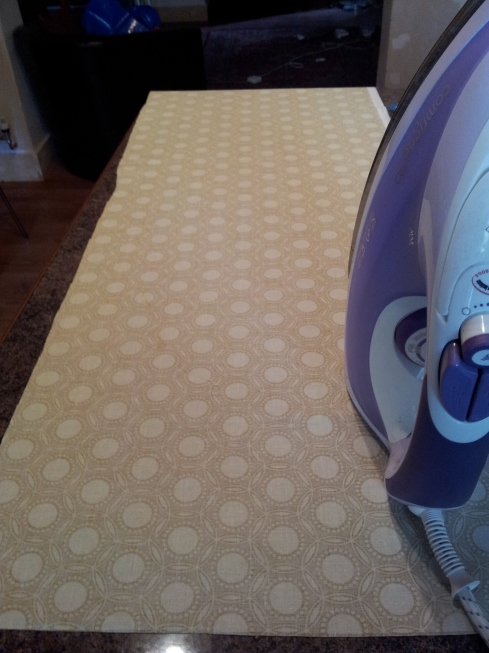
Then I placed the backing onto the fabric, and double checked all my measurements. The tricky bit is next: unpeel 10 or so centimetres of the backing, and paying careful attention to your positioning, stick it onto the wrong side of your fabric. Taking you straight back to your school days, press out the backing so you don’t get any bubbles. Continue in this vein (very slowly) for the next 10cm and so on, until all the backing is stuck down.
It will look something like this:

If you look closely you can see I’ve come up a tiny bit short on the fabric at the end. If this happens, don’t worry, when you roll in the hoops it can’t be seen.
You then snap off the pre-scored edges of the backing, to expose about 1cm of fabric on each end. Using the double sided tape provided, cover the edge of both hoops with tape, and then placing them tightly against the edge of the fabric, roll the hoops up until they are fully covered. I used an extra piece of tape to seal the shade closed. I couldn’t do this on my own, I used a trusted friend to take one hoop. You need to pul the backing really tight to make sure your backing doesn’t sag.
With a flat blunt object (a very old butter knife in my case) tuck the 1cm of free fabric that you’ve left around the edge of the hoop to achieve the rolled finish!
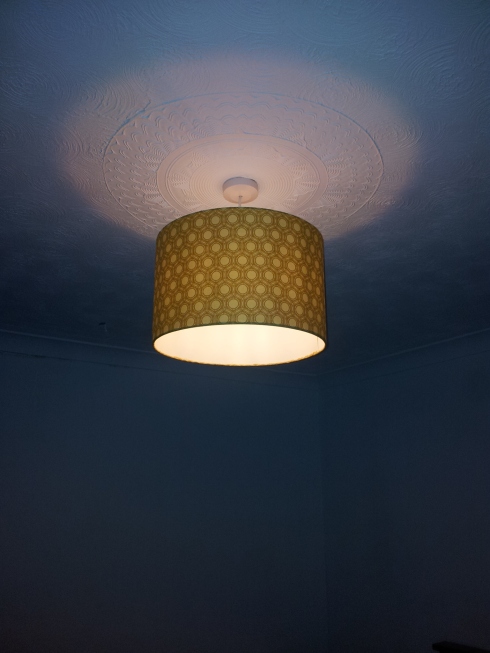
The finished shade!
Your shade is finished! I am actually delighted with the outcome – I didn’t pull the backing tight enough though, and so there is a tiny bit of sag. I don’t think it’s noticeable on a daily basis though. It doesn’t look like I bought it from a shop, but hey, that’s kind of the idea!
The lampshade kit cost £9.95 down from £16.95, and the fabric was £5 per metre on sale, and I used about 1.5m. Considering the amount of pleasure it gives me on a daily basis, and the sense of satisfaction I have, I think that’s remarkably cheap!
Sam
Tags: bunted!, challenge, decorating, fabric, hometown, lampshades, mad men, making, orla kiely, Rochester, Sam, tutorials